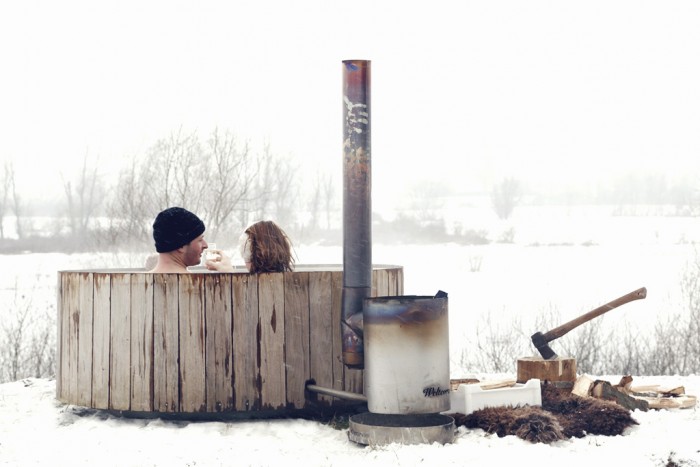
Having your own hot tub is an ever-enticing idea, but for most people, it is only that- an idea. The bill for buying a hot tub and having it installed runs high indeed, and it is what usually makes it unrealistic for the common man. So here’s a different solution; build your own. A self-made, wood-stove heated hot tub is the answer to getting the luxury you want without the heavy price tag.
You’ll begin by digging your pit; ensure that you’ve given yourself a little extra room, allowing each side to be about six inches wider than perimeter of your tub. Make sure to cut in your benches and steps, too. The keyhole design is the optimal shape for your hot tub, as it permits space for the wood stove to be far separated from where you and your family will be. You’ll install a barrier later on to make sure that those enjoying your hot tub aren’t in danger of burning themselves on the surface of your stove. Remember to choose a spot where you won’t run into too many rocks or roots during your digging process, and then dig as deep as you like. Keep in mind, though, that a smaller tub will take less time to heat up.
Caution: Building your own hot tub is not for the weak of heart. It is a tough and time-consuming task, so roll up your sleeves and use plenty of elbow grease.
Use plastic sheeting to line the entire pit, holding it in place with some roofing nails. Take pieces of closed-cell insulating foam, with a width of about two-inches, and lay them along the sheet, lining the pit. Chicken wire will hold the foam in place and should cover the interior of the tub and anything else you’ll be using concrete to make.
At this point you’ll need some professional advice to help you figure out exactly how much concrete will be necessary for your project. You’ll then mix your concrete in a wheelbarrow. Put on some gloves and start smoothing your concrete along the wire, working from the top to the bottom. Once you’re finished slathering and smoothing, the concrete will take a year to cure. At the end of the week paint two or three coats of sealer over top the cement (a process you will have to repeat annually).
As we said before, the narrow part of the tub will be the holding place for your submergible stove, which you can purchase for around $750. Your stove will most likely come with mounting brackets, but you’ll want to weigh it down with dumbbells to prevent it floating. You’ll also now build the wooden fencing to separate the stove area from the rest of your tub.
For your draining needs, it would be best to purchase a Quick Drain system. This is a handheld device that will siphon and vacuum out the water.
It can take about 10 hours to heat up your tub for the first time, depending on the size. Once the water is warm, though, it may only take 6 hours to reach your desired temperature again. Use more two-inch closed-cell foam to make your insulating cover and keep the heat in. Get the fire going about six hours before your party, and enjoy!

